Friday, 27 July 2012

22!

So, I had a complete mind blank and forgot to take ANY photos of making my birthday cake or even of when it was completed. I kinda wish it was feasible to invite photographers to house parties to capture moments as I often forget where I've left my camera and the photos I did take are pretty dire...

So, here is a photo I have shamelessly stolen off Faye! (Who has such a cute blog that you should check out called Dinosaur Circus.)

The cake was marble, sandwiched together with vanilla frosting and then just plain old fondant to cover it all. I'm still pretty hit and miss with my fondant technique, but thank goodness for ribbon as it hides all sins! For decoration I dyed some fondant blue with Sugarflair food gel and cut it out with a star cutter I had lying around. Simple but effective! It was said that it looked a little bit like a Christening cake for a boy, so there's an idea for you all if you're stuck.

I am being a terrible cake blogger at the moment for which I can only apologise. I'm leaving Dundee two weeks today (sob) to move into a new flat in Stirling before starting a postgraduate course in Publishing, so I think it'll take a little while for me to get settled (plus find a new photo spot! Goodbye beloved window sill with your lovely natural light and also goodbye to you giant kitchen...)


However, I do have a few cakes that I haven't blogged about yet, so I'll get those posted soon. Until next time!


Saturday, 23 June 2012

Graduation!

I'm sorry guys, I don't really have an excuse for not posting here! I was quite busy with Uni until April and then I just didn't really seem to bake that much. But I'm back now! I graduated on Tuesday and was inspired to make some graduation themed cupcakes. We don't wear mortar boards at our graduation ceremonies, so that went out the door for a cake topper, so I decided to make little degrees out of fondant and strawberry laces.

Super easy to do and I think they look pretty cute! You just roll out some fondant quite thin, cut it into a rectangular shape and then roll up before tying some strawberry lace around. Ta-da! As I said, super easy. 


The cake recipe is from The Hummingbird Bakery Recipe book and is just their basic chocolate cupcake recipe. However, I've noticed in my copy they list butter in the ingredients but don't actually tell you when to put it in? Very strange! This does though, so there you go!
 I made these in a muffin pan because I wasn't sure who was going to be at movie night, so they are pretty huge. Someone rightly pointed out that they're not quite a muffin or a cupcake but oh well!

Here's a photo of Faye (who now has a new blog called Dinosaur Circus which you should definitely check out!) and I from the big day, sadly we were given inedible degrees!


It's my grad ball tonight, so I'm off to get ready for that. I promise not to leave it so long between blog posts this time, see you soon!

Monday, 6 February 2012

2012 bakes.

A month into 2012 and still no blog post. Shame on me!  In my final semester of my degree now (eek!) and have been polishing off some applications for postgraduate study as I don't feel quite ready to face the real world yet... I also blame the distraction of the birth of my first niece and she demands a lot of attention despite only being six weeks old. We had a little family get together and I made some simple chocolate crispie cakes and some vanilla frosted cupcakes decorated with pink and purple shimmer sugar.


 I also did some more baking in January for my sister-in-law's birthday. She requested a Mickey Mouse cake and this is what I conjured up!
 As you can tell, I didn't have any black food dye so improvised with chocolate frosting and a little squidge of jam for his tongue. I still think despite the colour difference you can tell who he is though!

I made Mickey out of two 8 inch victoria sponges, my usual recipe, and four little tins for his ears. I covered the 8 inch sponge in ready to roll fondant, before using the little tin as a template to cut out a little segment to put the ears in then frosting over the gap.

For decoration, I pulled up a reference photo and lightly traced the design with the handle of a spoon of all things, it was more of a guideline as to where to ice. The chocolate buttons were just for fun!
This month my friend is turning 22 and has requested a Delorean cake, you know, the car from "Back to the Future"?! I'm sure I'll need a long think about how to achieve this, let me know if you have any ideas in the comments!


Tuesday, 20 December 2011

Five more sleeps!

Sorry for how quiet it's been! This semester of uni has destroyed me. My hand ins were due December 5th, spent the first week recovering, and then I came down with a blasted cold! Finally over the worst of it, so time to crack on with some baking done at last! But before that, here's a quick recap of last year's Christmas goodies.


I'll be back soon with a birthday cake I made a friend a while ago, and hopefully some Christmas themed biscuits!

Monday, 10 October 2011

TARDIS cake!

My friends and I are big fans of Doctor Who. So, for my friend Ruaridh's 21st birthday I decided to make a TARDIS cake! After the trauma of the 3D Dinosaur cake, I decided to stay away from a 3D TARDIS in fear of it collapsing, and chose to do one that was half materialized through the time vortex (aka lying down on a board).
To get the shape I baked the cake in a one pound loaf tin, meaning I had to do minimal carving to achieve the TARDIS shape. I chose to use Madeira cake just for something a little different, and the recipe I used can be found here.

I used ready rolled pacific blue fondant and an edible ink pen to decorate the cake. For the windows and the sign I cheated by using some Milkybar White chocolate, because I didn't want to spend £2 to use a tiny amount.
 It helped when making the cake to have reference, and that I had in the form of a toy TARDIS, and the 10th Doctor popped along to help...

Monday, 3 October 2011

A long break!

Hello! I haven't forgotten all about you, just real life gets in the way sometimes! I was quite busy through August, and then suddenly my final year of university began and reading took over, leaving little time for baking but hopefully I'll get back into the swing of things soon.

For now, here's some photos of some things I baked way back in July!
Malteaser Cupcakes
 Black Bottom Cupcakes from Hummingbird Bakery.
Strawberry Tart. Recipe via the caked crusader.
 
Next time I'll share photos of a TARDIS cake that I made for my friend's 21st, but I'll leave you with a photo of PacMan (if he were made of strawberry tart that is!)

Wednesday, 27 July 2011

Strawberries & Cream Victoria Sponge

 For my 21st, I receieved a lovely cake stand. With all the lovely weather we are having, I decided to christen it with this lovely summer's day cake.
I used Mary Berry's sponge recipe as it's always so moist! Whipped up some double cream with a little icing sugar and spread about generously along with some chopped strawberries. Lovely!

Friday, 22 July 2011

My 21st birthday cake!

Hello strangers! Sorry for going AWOL, after my final university exams (hurray!) I went on a little bit of a summer slack. That, and started going to the gym, so didn't do a lot of baking, but now I'm back with some photos of my birthday cake! 
I used my now go to sponge recipe with added vanilla extract by Mary Berry which I would highly reccomend, as the sponge is so moist! I made this cake on the Thursday to be served on Saturday night, and it held up really well.

The larger bottom layer was marble cake achieved by making two lots of the sponge recipe, and subsituting a little of the flour in the second batch to add in cocoa. The top layer was just a normal sponge, and both cakes were sandwiched with vanilla buttercream frosting and covered in fondant.


I bought the sheer rainbow ribbon off the internet, and the cake topper from an eBay seller called karenkakes, who sells toppers ready to go and also takes orders. So, if you are wanting a topper for a special occasion, definitely give her shop a look!
For my 21st I had a ceilidh with over 50 guests, so I was a little nervous that the cake would topple mid dance since I didn't put in any support structures. However, everything turned out fine and I received many positive comments on the cake. I especially enjoyed when people asked who made the cake and I could reply 'I did!' to their surprise.
 Now, time to start planning the cake for my 22nd...

Sunday, 29 May 2011

Cakecuccino's First Birthday!

A year today I started this blog! I'm really proud that I've managed to keep it updated on a (semi) regular basis, and hopefully will be able to do so for the next year. 

To celebrate such an occasion, we obviously need a cake...
 Though, I actually made this cake for my friend Faye's 21st birthday! (She also has a blog called 'Cooking with Faye'). It took quite a few hours to make, but I blame that on the fact that I only had two cake pans...
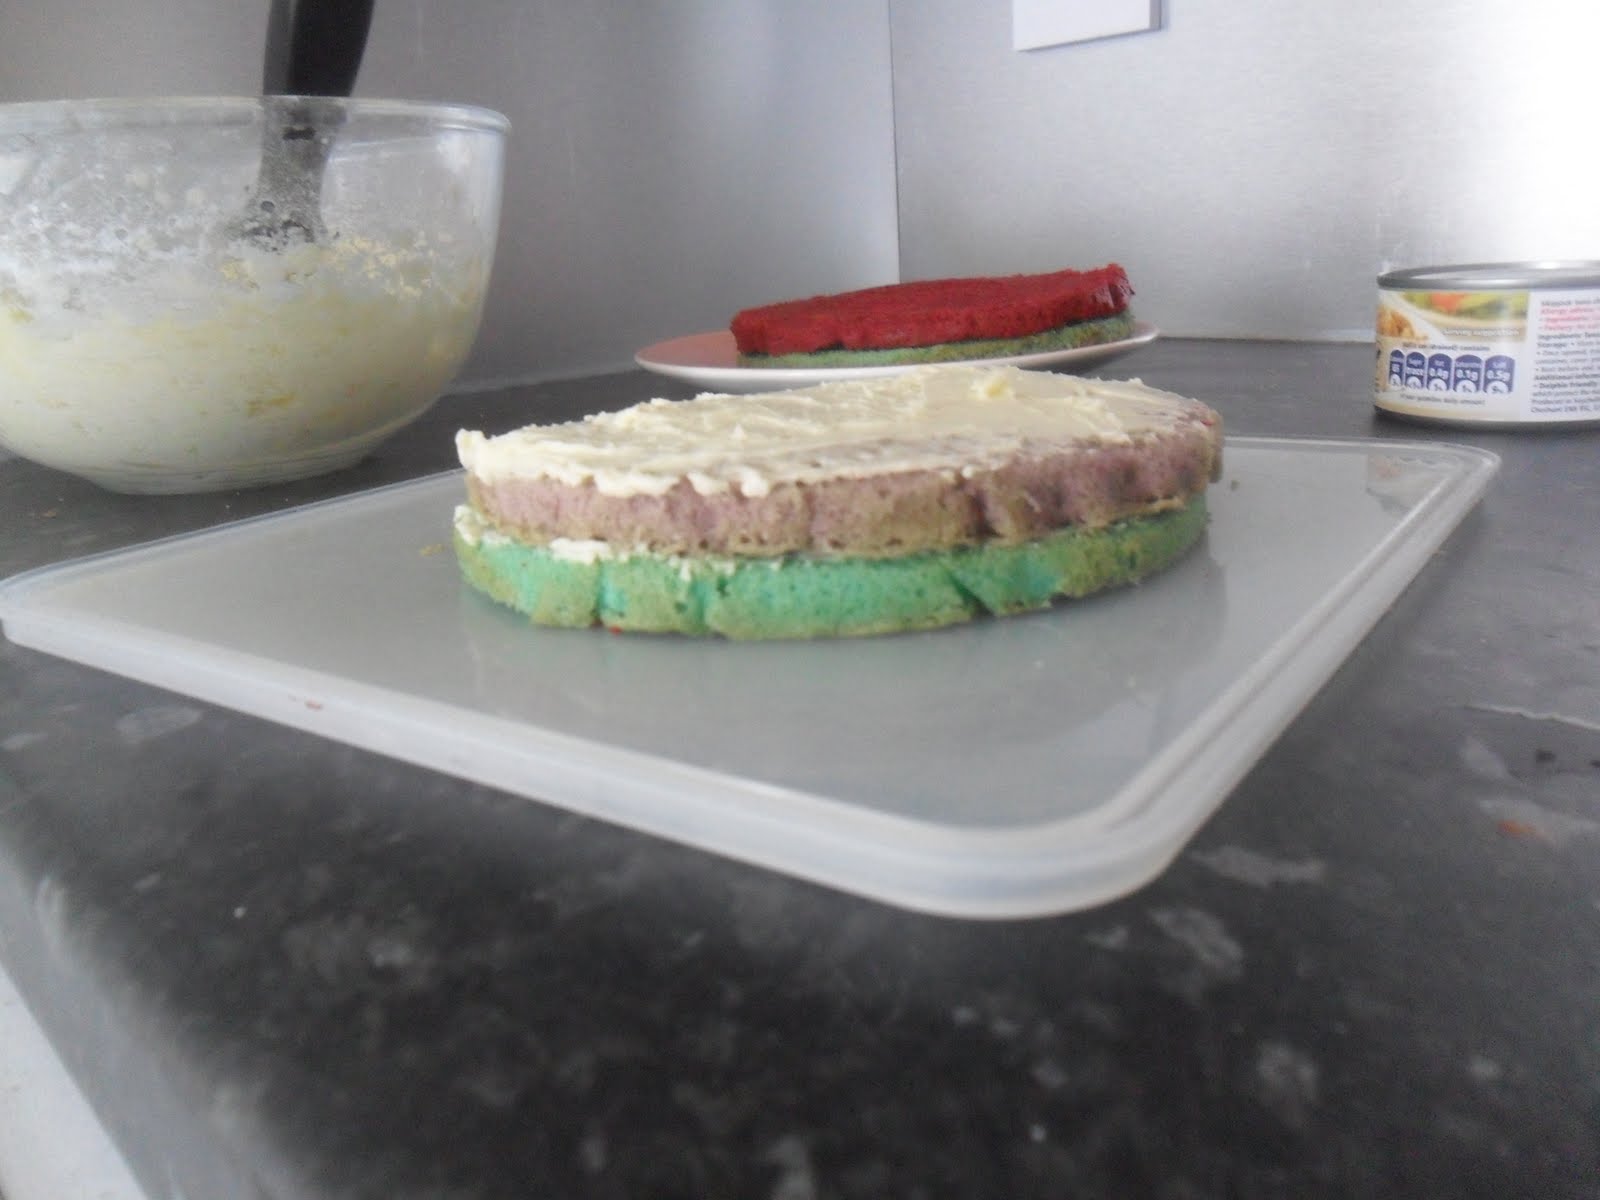
Rainbow Cake

250g butter
250g sugar
250g self-raising flour
4 eggs
Vanilla extract (optional).
6 food dyes of your choice.
Ready to roll fondant.


Frosting

125g unsalted butter
250g icing sugar
1-2 tbsp milk
1 tsp vanilla extract


Method
1. Preheat the oven to 180 degrees.
2. Cream together the butter and sugar until light and fluffy, then add an egg with a tablespoon of flour and mix thoroughly. Repeat with each egg, and then add the rest of the flour. Also, add in the vanilla extract if using.
3. Seperate the cake mixture into 6 different bowls. 

4. Add in your colouring, and mix thoroughly. 
 
 
 5. Pour the mixture into prepared 8 inch cake pans, and then bake for around 10-15 minutes or until a skewer comes out clean or the sponge bounces back when pressed.
 6. Prepare your frosting while the cakes cool. With an electric mixer, mix together the butter and icing sugar, adding a splash of vanilla/milk until the frosting is light and fluffy.
7. Decide on the order of your layers, and then frost the cake layers together once cool.
 
 8. If using fondant, spread a thin coating of frosting over the cake which will help the fondant to stick.
9. Dust your counter with icing sugar, and roll out your fondant to around an eighth of an inch. (In order to prevent the fondant sticking to the counter, flip it over and dust with more icing sugar).
10. Carefully roll your fondant over your rolling pin, and then roll back over the cake smoothing down the sides.

 My fondant techniques leave a lot to be desired, but I'm sure there are plenty of how to videos available over the web to help ensure a smoother finish than mine!

(Note : It is best to use food dye gel to produce vivid colours, but I was unable to locate any in the time I had. I used a mixture of liquid colouring, which to help the colour, I added a little bit of cocoa powder to the cake mixture. I also used Sugarflair colouring (the blue and the lilac layers) which I think turned out quite nicely, so I would reccommend those if you can get your hands on them. For the yellow layer, I just left it plain).

Although on the outside this cake looks rather plain, the real surprise comes as the cake is cut! 


Thursday, 5 May 2011

Kit Kat & Smarties Cake!

I've seen this idea floating around on various websites, and thought it was particularly clever! I'm not sure if anyone watched 'Baking Made Easy' on BBC1 with Lorraine Pascal, where she decorated a cake with chocolate cigerellos. Although the final product was beautiful, the price of the cigerellos were a bit out of my reach (over £30!), so this idea is perhaps more of a version for those on a budget, but still looks pretty amazing.

Ingredients:
For the sponge:
225g unsalted butter
225g caster sugar
4 large eggs
225g self raising flour
2 tsp of baking powder
1 tsp of vanilla extract (optional)
Frosting:
125g unsalted butter
250g icing sugar
1-2tbsp of milk
1 tsp of vanilla extract
Decoration (for an 8 inch cake):
18 x 2 finger Kit Kats
5 tubes of Smarties (Or whatever you fancy topping it with!)

Method:
1. For this cake, you can use your favourite cake recipe. I chose to use Mary Berry's classic victoria sponge recipe, with a dash of vanilla extract. You can find the recipe and method  here!
 2. After the cake is cooked and completely cooled, you can start the frosting. Whisk together the butter and the icing sugar (for best results, use a hand mixer for this), adding it a splash of the milk and vanilla extract at a time. It is best to whisk for around five minutes for a light and airy frosting. (Also take this as an opportunity to make sure that the Kit Kat is slightly taller than the sponge when placed together, if it is not, you will have to trim the sponge down a little).
3. Place a small blob of frosting on top of your cake board, and then place the bottom sponge on top. This will act like a glue to keep the sponge in place.
4. Using a palette knife, place a large blob of frosting on top of your bottom sponge, and spread across evenly.

 5. Place the other sponge on top, and then proceed to frost the cake entirely. Don't worry if it looks messy, as it's going to be covered completely by sweeties!
6. Using the left over frosting, spread a little on the bottom of the Kit Kat, and press firmly on to the side of the cake. Again, this will act like glue holding the Kit Kat in place. Repeat until the whole cake is covered.
7. Scatter your smarties (or whatever you've chosen) across the top of the sponge. And you're done!
 
Until next time!