Showing posts with label vanilla frosting. Show all posts

Monday, 6 February 2012

2012 bakes.

A month into 2012 and still no blog post. Shame on me!  In my final semester of my degree now (eek!) and have been polishing off some applications for postgraduate study as I don't feel quite ready to face the real world yet... I also blame the distraction of the birth of my first niece and she demands a lot of attention despite only being six weeks old. We had a little family get together and I made some simple chocolate crispie cakes and some vanilla frosted cupcakes decorated with pink and purple shimmer sugar.


 I also did some more baking in January for my sister-in-law's birthday. She requested a Mickey Mouse cake and this is what I conjured up!
 As you can tell, I didn't have any black food dye so improvised with chocolate frosting and a little squidge of jam for his tongue. I still think despite the colour difference you can tell who he is though!

I made Mickey out of two 8 inch victoria sponges, my usual recipe, and four little tins for his ears. I covered the 8 inch sponge in ready to roll fondant, before using the little tin as a template to cut out a little segment to put the ears in then frosting over the gap.

For decoration, I pulled up a reference photo and lightly traced the design with the handle of a spoon of all things, it was more of a guideline as to where to ice. The chocolate buttons were just for fun!
This month my friend is turning 22 and has requested a Delorean cake, you know, the car from "Back to the Future"?! I'm sure I'll need a long think about how to achieve this, let me know if you have any ideas in the comments!


Friday, 22 July 2011

My 21st birthday cake!

Hello strangers! Sorry for going AWOL, after my final university exams (hurray!) I went on a little bit of a summer slack. That, and started going to the gym, so didn't do a lot of baking, but now I'm back with some photos of my birthday cake! 
I used my now go to sponge recipe with added vanilla extract by Mary Berry which I would highly reccomend, as the sponge is so moist! I made this cake on the Thursday to be served on Saturday night, and it held up really well.

The larger bottom layer was marble cake achieved by making two lots of the sponge recipe, and subsituting a little of the flour in the second batch to add in cocoa. The top layer was just a normal sponge, and both cakes were sandwiched with vanilla buttercream frosting and covered in fondant.


I bought the sheer rainbow ribbon off the internet, and the cake topper from an eBay seller called karenkakes, who sells toppers ready to go and also takes orders. So, if you are wanting a topper for a special occasion, definitely give her shop a look!
For my 21st I had a ceilidh with over 50 guests, so I was a little nervous that the cake would topple mid dance since I didn't put in any support structures. However, everything turned out fine and I received many positive comments on the cake. I especially enjoyed when people asked who made the cake and I could reply 'I did!' to their surprise.
 Now, time to start planning the cake for my 22nd...

Thursday, 5 May 2011

Kit Kat & Smarties Cake!

I've seen this idea floating around on various websites, and thought it was particularly clever! I'm not sure if anyone watched 'Baking Made Easy' on BBC1 with Lorraine Pascal, where she decorated a cake with chocolate cigerellos. Although the final product was beautiful, the price of the cigerellos were a bit out of my reach (over £30!), so this idea is perhaps more of a version for those on a budget, but still looks pretty amazing.

Ingredients:
For the sponge:
225g unsalted butter
225g caster sugar
4 large eggs
225g self raising flour
2 tsp of baking powder
1 tsp of vanilla extract (optional)
Frosting:
125g unsalted butter
250g icing sugar
1-2tbsp of milk
1 tsp of vanilla extract
Decoration (for an 8 inch cake):
18 x 2 finger Kit Kats
5 tubes of Smarties (Or whatever you fancy topping it with!)

Method:
1. For this cake, you can use your favourite cake recipe. I chose to use Mary Berry's classic victoria sponge recipe, with a dash of vanilla extract. You can find the recipe and method  here!
 2. After the cake is cooked and completely cooled, you can start the frosting. Whisk together the butter and the icing sugar (for best results, use a hand mixer for this), adding it a splash of the milk and vanilla extract at a time. It is best to whisk for around five minutes for a light and airy frosting. (Also take this as an opportunity to make sure that the Kit Kat is slightly taller than the sponge when placed together, if it is not, you will have to trim the sponge down a little).
3. Place a small blob of frosting on top of your cake board, and then place the bottom sponge on top. This will act like a glue to keep the sponge in place.
4. Using a palette knife, place a large blob of frosting on top of your bottom sponge, and spread across evenly.

 5. Place the other sponge on top, and then proceed to frost the cake entirely. Don't worry if it looks messy, as it's going to be covered completely by sweeties!
6. Using the left over frosting, spread a little on the bottom of the Kit Kat, and press firmly on to the side of the cake. Again, this will act like glue holding the Kit Kat in place. Repeat until the whole cake is covered.
7. Scatter your smarties (or whatever you've chosen) across the top of the sponge. And you're done!
 
Until next time!

Thursday, 6 January 2011

Baby Blue!

A brief interlude before the Sticky Toffee - My friends recently had their first baby, a healthy baby boy with a head full of hair! I'm off to visit them tomorrow, so decided to whip up a simple cake for the occasion. All my icing essentials are in my flat up in Dundee, so please forgive the sloppy decoration round the edge!
It's just a vanilla sponge cake with a vanilla buttercream icing from Hummingbird. I tinted it with some sugarflair navy blue food dye and iced the baby's name along with some questionable swirls!
I hope they like it!

Monday, 8 November 2010

Dinosaur Cake!

Around about a year ago, my friends and I gathered at our flat to watch Dinosaur movies on a Monday, hence the name 'Dinosaur Monday!' This Monday movie night turned into a tradition and now every Monday we gather at someone's flat and watch movies along with some baked goods. Last year the plan was to carve a Dinosaur out of brownies but as usual, the brownies were a complete fail due to our oven. So this year I decided to try again but with cake!

I used this recipe from The Caked Crusader and it was delicious! The sponge kept moist for days which was good because I had loads of cake left!

Ingredients:
225g unsalted butter, at room temperature
225g caster sugar
4 eggs
225g self raising flour
3 tablespoons cocoa powder
150ml milk

Method:
1. Preheat the oven to 160 degrees.
2. Line two 20cm cake tins with greaseproof paper.
3. Cream together the sugar and butter until pale and fluffy.
4. Slowly add in the eggs one at a time.
5. Add in the flour, cocoa and the milk.
6. Spoon the batter into the cake tins.
7. Bake the cakes for around 50 minutes or until a skewer inserted into the sponge comes out clean.
8. Leave the cakes to cool slightly in their tins before turning out onto a wire rack.

It's a delicious chocolate cake recipe, so if you just want a simple chocolate cake whip this up and add some buttercream to sandwich in the middle. Or, use it as a basis for a dinosaur as I did!

I got my template here! I think it's from Betty Crocker but I could also be imagining that! Simply print out and cut out the templates, and after your cake is cooled we're ready to go!

Now I must admit here that my cake was a little small for the template, so I just trimmed the template a little in order to make it fit. Then I placed the template on top of the sponge and with a sharp knife cut out my template.

I then made some green tinged vanilla buttercream to stick the head and tail to the body and also to the board before doing a crumb coat! A crumb coat is basically a thin coat of buttercream to seal in the crumbs. It was my first go at this so I was quite pleased! From my research on the web, most reccomend putting the cake in the freezer so the crumb coat sets but I didn't have enough room in my freezer and not a lot of time either, so I cleared a shelf in the fridge and left him in there for half an hour.

I then made some darker green vanilla buttercream and slathered it all other my dinosaur. I then used chocolate drops and chocolate and white buttons to decorate. 
I was really sad to cut up my dinosaur! I thought he looked quite cute! But, he had to go join his other dinosaurs in extinction...

Thursday, 21 October 2010

Home-made Oreos!

This month's TSR bake was chosen by Sarah over at Internet Gems! The recipe can be found Sugar Cooking. Though, I used Sarah's adaption because it was already in grams for me, so if you're the same you can find it here!
Home-Made Oreos
Ingredients (for the cookie, makes around 25-30)
160g plain flour
8tbsp cocoa powder
1 teaspoon bicarbonate of soda
1/4 teaspoon baking powder
250g sugar
140g room-temperature butter
1 large egg

Method:
1. Mix the dry ingredients together in a large bowl, then, using an electric mixer, add the butter and the egg. 
2. Mix until the ingredients come together to form a dough. (Note: Mine wasn't combining at all, so I cracked another egg in there!)
3.Take a pinch of the dough, and roll into a ball. Place on baking paper and slightly flatten the ball. Space the balls at least two inches apart because they spread! (For lack of another baking tray, I did a load in a muffin pan which actually made the sizes quite uniform! So if you're wanting equal sized cookies I'd suggest that).
4. Bake for nine minutes at 190 degrees.
5. Remove from oven and leave to cool on tray for a few minutes before transferring to a wire tray to cool completely.

For the filling I used the vanilla buttercream I use for practically everything from Hummingbird which is very similar to the recipe here albeit more butter.
Ingredients for the filling:
115g butter
260g icing sugar
2 tsp vanilla extract
2 tsp milk (if required)

1. Place butter in mixing bowl and beat with electric mixer at a low speed before gradually adding in the icing sugar and vanilla extract.
2. Turn the mixer to high and beat for 2-3 minutes until filling is light and fluffy.
3. Take a teaspoon amount of the filling and place on the flat side of the cookie, before finding one of a similar size and sandwiching them together.


Thursday, 30 September 2010

Checkerboard Cake.

I've been going to my local library to check out the cookery books. It's the best of both worlds as you get to try all sorts of different recipes and without having to buy a expensive book! My library has a decent selection to browse through and so a couple of weeks ago I brought back the "Green & Blacks Chocolate Recipes". I had a quick look through and the cake that struck me the most was the checkerboard. It is a pretty big cake, so it deserved a big occasion - my friend's 20th! 

Checkerboard Cake (adapted via "Green & Blacks Chocolate Recipes")


Ingredients:
Vanilla batter:
225g unsalted butter
225g caster sugar
4 large eggs
1 tsp vanilla extract
250g plain flour
10g baking powder

Chocolate batter:
225g unsalted butter
225g caster sugar
4 large eggs
220g plain flour
50g cocoa powder
10g baking powder

Vanilla frosting:
80g unsalted butter
250g icing sugar
1-2 tbsp of milk
1 tsp vanilla extract

Chocolate Ganache:
150g dark chocolate (minium 60% cocoa solids)
150ml whipping cream

Method:
1. Preheat the oven to 190 degrees.
2. Butter the three cake tins and line the bases with greaseproof paper.
3. Make the vanilla cake batter. Cream together the butter and sugar thoroughly. Add the eggs, one by one, mixing until well incorporated, then add vanilla extract. Sift together the flour and baking powder andt add to mixture, stirring well. Take note that this mixture will be quite stiff!
4. Make the chocolate cake batter. Same instructions as before (minus the vanilla extract of course!) and sift in the cocoa powder at the same time as the flour and baking powder. Stir. Once again, the mixture will be stiff.
5. Time to make the rings of batter! You can either do this by placing the cake batters in different piping bags and piping a ring around, or do what I did and spoon a rough circle shape around the tins. Start by piping a ring of vanilla, then chocolate etc. On the next cake pan, start with a ring of chocolate then vanilla etc and then finally on the third cake pan repeat the pattern from the first.


I ran out of cake tins and had to make one cake in a pie dish!
 

  6. Bake in the preheated oven for around 20 minutes or until a skewer comes out clean.
7. Leave cakes in their tins to cool for around 10 minutes before transferring to a wire rack to cool completely.
 8. Prepare the vanilla frosting. Mix together the butter and icing sugar with an electric whisk. Mix together the milk and vanilla extract and add a teaspoon of the mixture at a time while whisking. Stop adding milk when mixture sticks to the back of the spoon and is light. Whisk for around 4-5 minutes.
9. Once your cakes are cool, place the first vanilla ring on the bottom and spread vanilla frosting over the top. Place the chocolate ring on top and repeat. Finally add the other vanilla ring on top.
 10. Make the ganache. Melt the chocolate in a heatproof bowl suspended over a saucepan of simmering water. Once melted set aside.
11. Whip the cream until soft peaks form, then pour the hot chocolate over the cream mixture whilst continuing to mix until the chocolate has just blended.
12. Once the ganache is cool, spread over the entire cake.

I iced mine with a birthday message. It was my first time actually writing words, so it was a bit dodgy!


 It was a surprise to find out how well the checkerboard design had worked out as, of course, I only got to see inside when the birthday boy cut the cake! I think the idea of checkerboard was there - it would have probably been better if I had piped the rings so they were consistent but still!

Wednesday, 15 September 2010

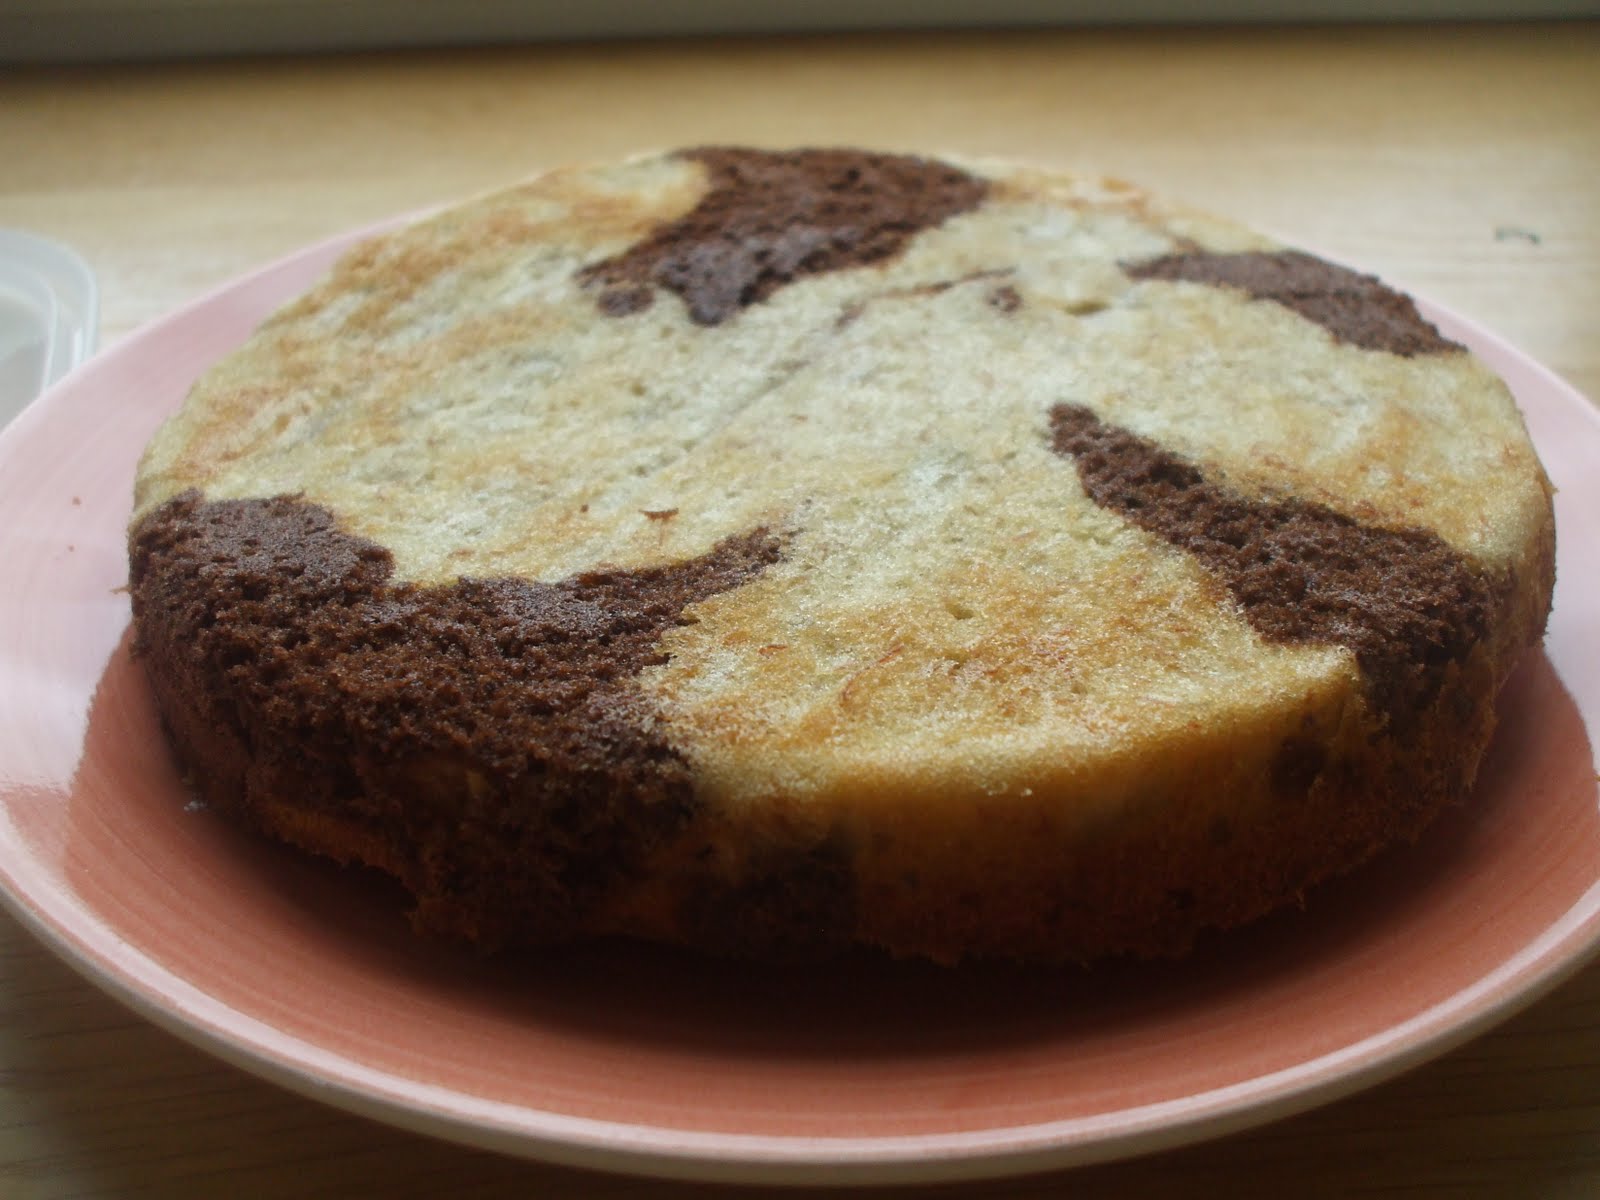
Banana and Chocolate Marble Cake.

The last time I made Marble Cake it turned out to be pretty dry. Was it my recipe, my oven or just cooked too long, who knows? We still ate it, but with some custard so it wasn't a complete disaster!

My friend requested a Marble Cake for movie night so I knew I had to adapt the recipe to make sure that it was moist. And what cake is always moist? Banana bread of course! So, a Banana and Chocolate Marble Cake it was.
 
  
Banana and Chocolate Marble Cake (serves 8)
 125g butter
125g caster sugar
125g self-raising flour
2 medium eggs
2 slightly mushy bananas
5-10g of cocoa powder
 

1. Cream butter and sugar together.
2. Add one egg and about half the flour, stirring until fully incorporated. Repeat with the other egg and remaining flour.
3. Peel and break the bananas into rough pieces. Place in bowl and then mash with a fork until more of a liquid consitency.
4. Place around a third of the cake mixture into a seperate bowl and add the cocoa powder. Mix until combined.
5. Add the bananas to the plain cake mixture and combine.
6. Grease and flour two 20cm cake tins.
7. Dollop alternative spoonfuls of the banana and chocolate cake mixture between the pans and then, using the handle of a spoon or a skewer, swirl around to create the marble effect.
8. Place in a preheated oven of around 180 degrees celsius for around 25-30 minutes. Remove when either the sponge bounces when pressed or when a skewer comes out clean.

You could always do this in a loaf tin but I wanted to make to cake with filling and all. I used my usual vanilla frosting recipe from Hummingbird to sandwich this together as it isn't too sickly and again, just adds some moisture.

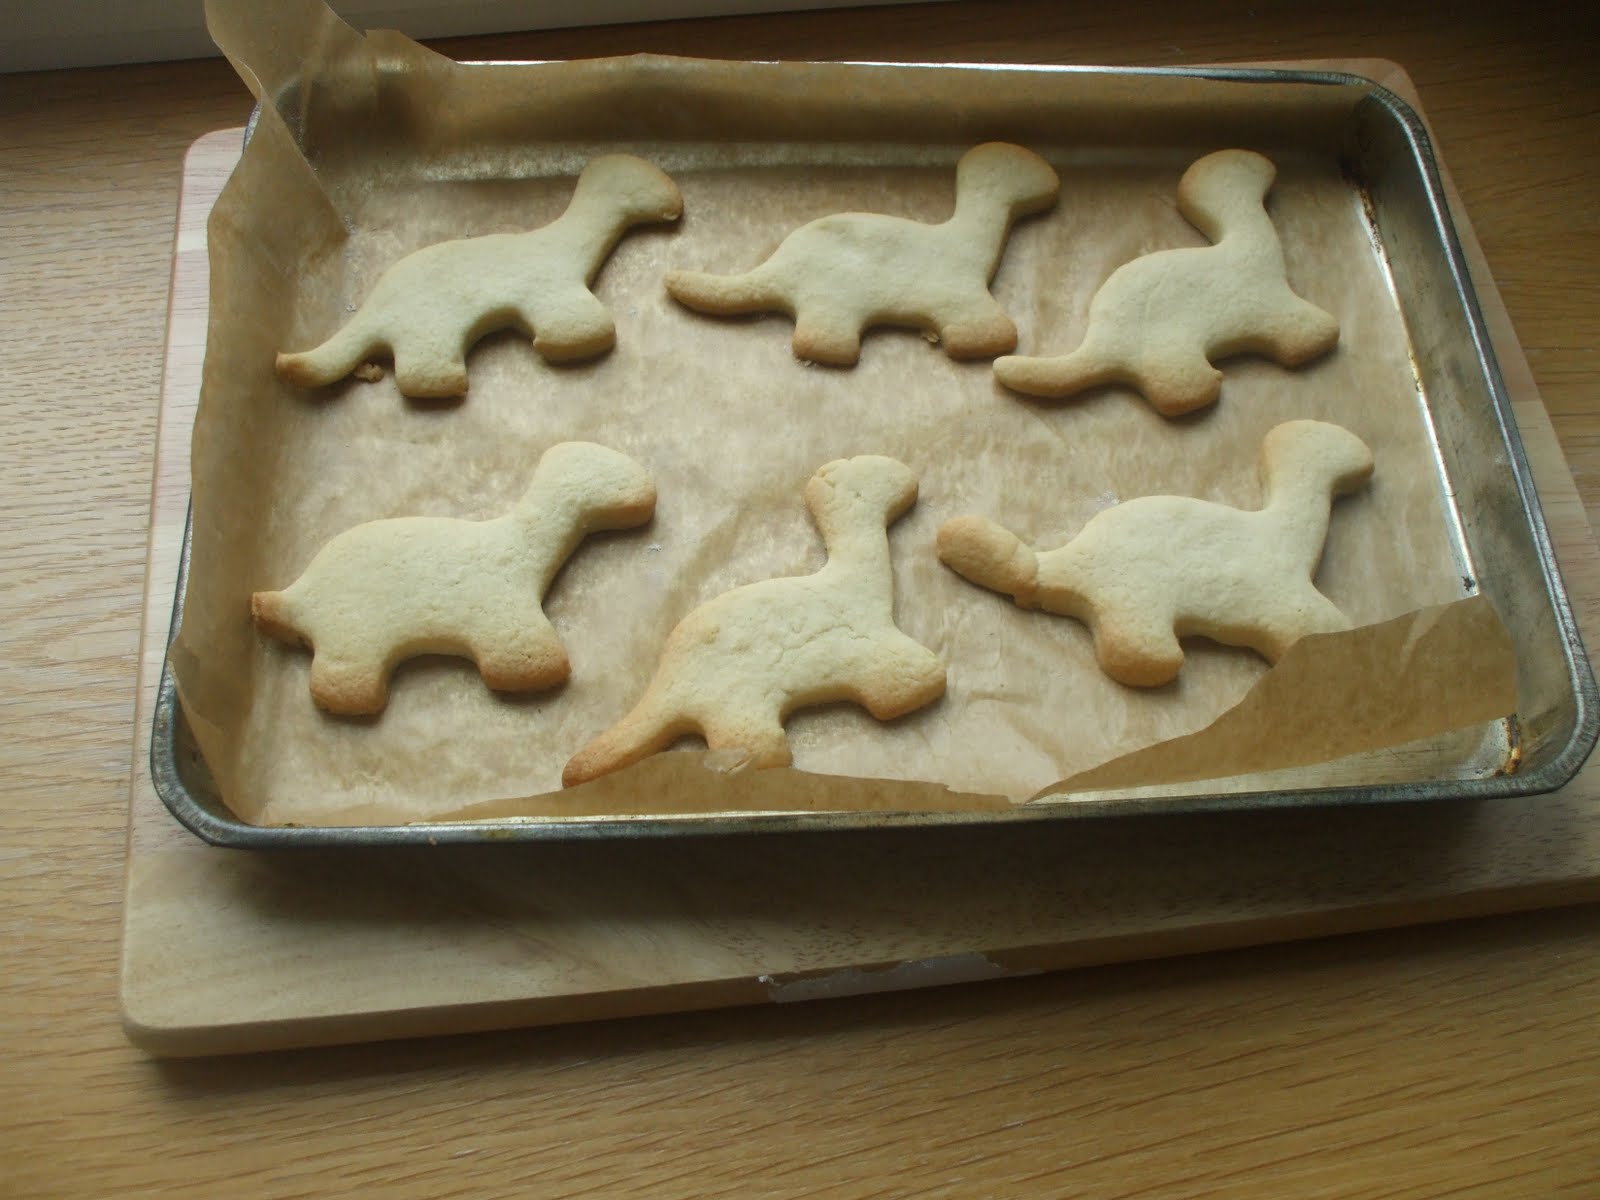
Wondering what happened to the dinosaur biscuits I said I'd make a couple of weeks back? Here's a sneak preview!

Check back next week for the full post!